
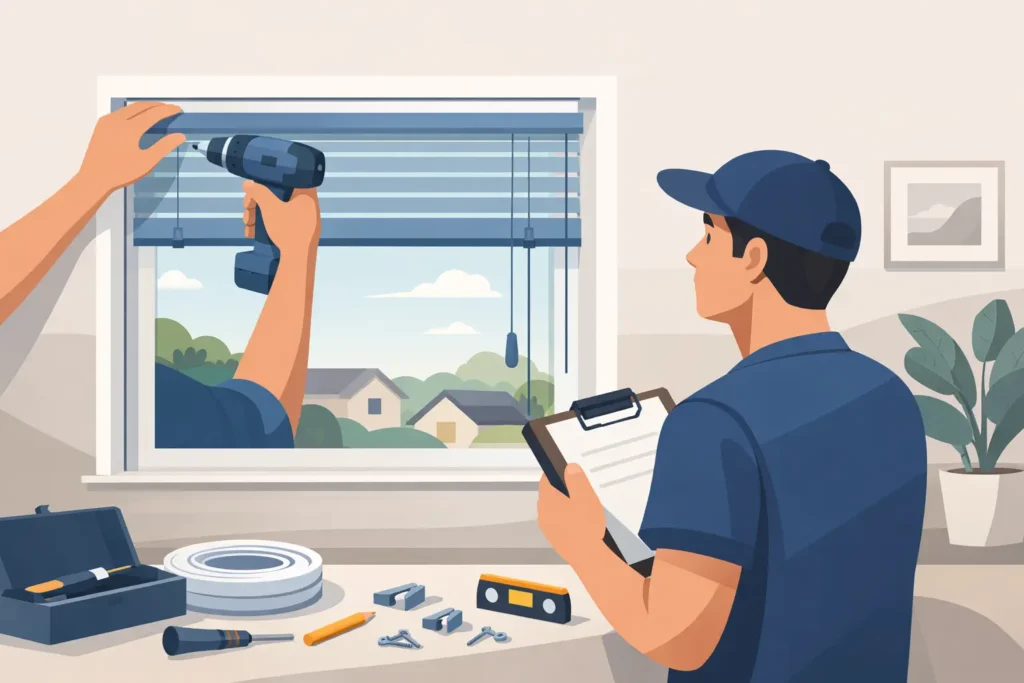
A blind that sits even slightly out of level can make an otherwise polished room feel unfinished. More importantly, a loose bracket, incorrect mount, or poorly measured blind can affect privacy, light control, and daily operation. Knowing how to install window blinds starts before the drill comes out: the measurements, mounting choice, and condition of the window frame all determine whether the finished treatment looks custom or compromised.
For straightforward, standard-size blinds, many homeowners can handle installation themselves. For large windows, specialty shapes, motorized products, or a room where design details matter, professional measuring and installation can prevent expensive do-overs. The right approach depends on the blind type, window construction, and the level of fit you expect.
Start With the Right Mounting Style
Before ordering or opening the hardware package, decide whether the blind will be mounted inside the window opening or outside of it. This is not simply a style preference. It changes the measurements, bracket placement, light gaps, and visual scale of the window treatment.
An inside mount places the blind within the window frame. It creates a clean, built-in appearance and leaves decorative trim visible. Inside mounts work best when the opening is deep enough for the headrail and brackets, and when the frame is reasonably square. They are often a strong choice for homeowners who want a tailored look in bedrooms, living rooms, kitchens, and offices.
An outside mount installs the blind above or beyond the window opening, on the wall, trim, or ceiling. This option can make a smaller window appear larger, cover shallow or uneven frames, and reduce light leakage around the sides. It is also useful when a window has limited mounting depth or when the treatment needs to cover a door or unusual opening.
For either option, check for obstructions before you commit. Window cranks, handles, security sensors, molding, and recessed trim can all affect where the brackets need to go. If you are layering blinds with drapery or pairing them with shutters, allow room for each treatment to operate without interference.
How to Install Window Blinds: Measure Before You Mount
The most common installation problems begin with a rushed measurement. Use a steel tape measure rather than a cloth measuring tape, and record each measurement to the nearest 1/8 inch. Do not assume windows in the same room are identical, especially in older homes.
For an inside mount, measure the width at the top, middle, and bottom of the opening. Use the narrowest width unless the manufacturer provides different instructions. Then measure the height at the left, center, and right, using the longest height. Measure the window depth as well, because some products require a minimum depth for a flush or partially recessed installation.
For an outside mount, measure the area you want the blind to cover, not just the glass. A wider and taller treatment generally offers better privacy and light control. The appropriate overlap varies by product and window location, but the blind should extend far enough past the opening to limit side gaps while still fitting the available wall or trim space.
Also check that the window opening is square. Measure diagonally from corner to corner. If the numbers differ noticeably, an inside-mounted blind may show uneven gaps even when installed correctly. In that situation, an outside mount may give the room a more balanced appearance.
Gather Tools and Inspect the Hardware
Most blind installations require a measuring tape, pencil, level, drill, drill bits, screwdriver, and ladder or sturdy step stool. Depending on the mounting surface, you may also need wall anchors, a stud finder, or a small socket driver. Keep the manufacturer’s instructions nearby because bracket styles vary between wood blinds, faux wood blinds, aluminum blinds, roller shades, and cellular shades.
Lay out the blind, brackets, screws, valance clips, wand, and any safety devices before beginning. Confirm that the blind width matches the order and that the control side is where you expect it to be. This small check is particularly valuable for a wide blind or a set of multiple window treatments, where correcting an issue after drilling is more difficult.
Do not rely on drywall alone for a heavy product. Wider wood blinds, large faux wood blinds, and certain motorized treatments may require fastening into studs, window framing, or properly rated anchors. The correct mounting hardware is a safety issue as well as a durability issue.
Mark and Install the Brackets
Hold the first bracket in place and mark the screw holes with a pencil. For an inside mount, brackets are usually positioned near the upper corners of the opening, with enough clearance so the headrail does not rub against the sides. For an outside mount, place the brackets at the desired height above the window, keeping them level and spaced according to the manufacturer’s guidance.
Use a level to ensure both brackets align. Do not trust the ceiling, trim, or window frame to be perfectly level. A level headrail is what makes the blind appear straight and operate properly.
Pre-drill pilot holes when mounting into wood. This helps prevent splitting and makes it easier to drive screws straight. If mounting into drywall where no stud is available, use anchors designed for the blind’s weight and follow their load recommendations. Tighten the brackets firmly, but do not overtighten screws to the point that the bracket bends or the material strips.
Wide blinds often include a center support bracket. Install it after the outer brackets are level and secure, placing it where it supports the headrail without blocking the internal mechanism. A center bracket that is too close to the control mechanism can cause binding or make the blind difficult to remove later.
Attach the Headrail and Test Operation
With the brackets secure, snap or slide the headrail into place based on the product’s design. Many brackets click when locked. Gently pull on the headrail to confirm it is fully seated before operating the blind.
Lower and raise the blind several times. Tilt the slats open and closed if you are installing horizontal blinds. Look for smooth movement, even stacking, and a bottom rail that stays level. If one side hangs lower, check that the headrail is fully engaged in each bracket and that the brackets are level.
Install the valance, return pieces, wand, or cord control as directed. These finishing pieces do more than improve appearance. A correctly fitted valance can conceal the headrail and brackets, making the installation look more intentional and proportional to the room.
For cordless products, test the lift motion from the center of the bottom rail. Pulling consistently from one side can cause the treatment to travel unevenly over time. For corded blinds, install the supplied tension device or cord cleat according to the instructions. This is essential for child and pet safety.
Know When Professional Installation Is the Better Choice
DIY installation is practical for many standard blinds, but custom window treatments deserve a closer look. A small measuring error on a made-to-order blind can mean the product does not fit. Specialty installations can also involve uneven plaster walls, extra-wide windows, bay windows, French doors, high ceilings, or motorized controls that need careful placement and programming.
Professional service is especially helpful when you are choosing between several materials and mount styles. In Los Angeles and Orange County homes, bright sun exposure, privacy from nearby properties, and room-by-room design consistency can all influence the best selection. The same blind that performs well in a shaded bedroom may not be the right answer for a sun-facing family room or office.
Blinds by Design helps clients move from in-home measurement and product selection through custom ordering and dependable installation. Seeing materials and colors in the actual room can make the difference between a treatment that merely fits and one that supports the space’s comfort, light control, and overall design.
A Finished Look Is Worth the Extra Check
Once the blinds are installed, stand back and view them from several points in the room. Check the spacing around the window, confirm that controls are accessible, and make sure the blind clears handles and locks. Open and close the treatment at different times of day to see how it manages glare and privacy.
The best window blinds do not call attention to the hardware or the installation process. They sit straight, operate easily, complement the room, and give you the control you wanted when you chose them. Taking time to measure carefully – or scheduling expert help for a custom project – is what creates that finished result.