
How to Measure Window Treatments: A Step-by-Step Guide?
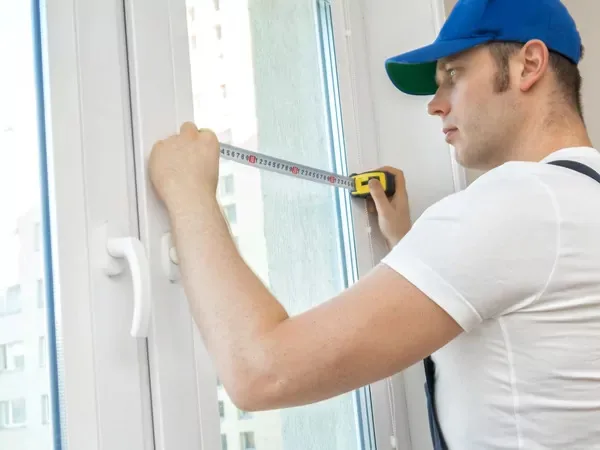
Measuring a window sounds simple — and it mostly is — but small mistakes have big consequences when your blinds, shades, or shutters are custom-built to the numbers you write down. A quarter inch off, and a shade rubs the frame or lets a stripe of light through. The good news: with a steel tape measure and ten careful minutes, you can get numbers accurate enough for planning and pricing.
Below is the same process our installers use, explained step by step with diagrams. And remember — if you’d rather not measure at all, you don’t have to. Professional measurement is included free with every in-home consultation, and when we measure, the fit is guaranteed. Call (562) 299-8743 anytime to skip straight to that part.
What You'll Need
- A steel tape measure. Cloth tapes stretch and yardsticks come up short — steel is the only tool that gives reliable numbers.
- A pencil and paper (or your phone’s notes app) to record each window separately.
- A step stool for taller windows, so you’re reading the tape straight-on rather than at an angle.
Two rules before you start: always measure to the nearest 1/8 inch (never round up or down), and always record width first, then height. Every manufacturer reads measurements in that order, and swapping them is the single most common — and most expensive — measuring mistake there is.
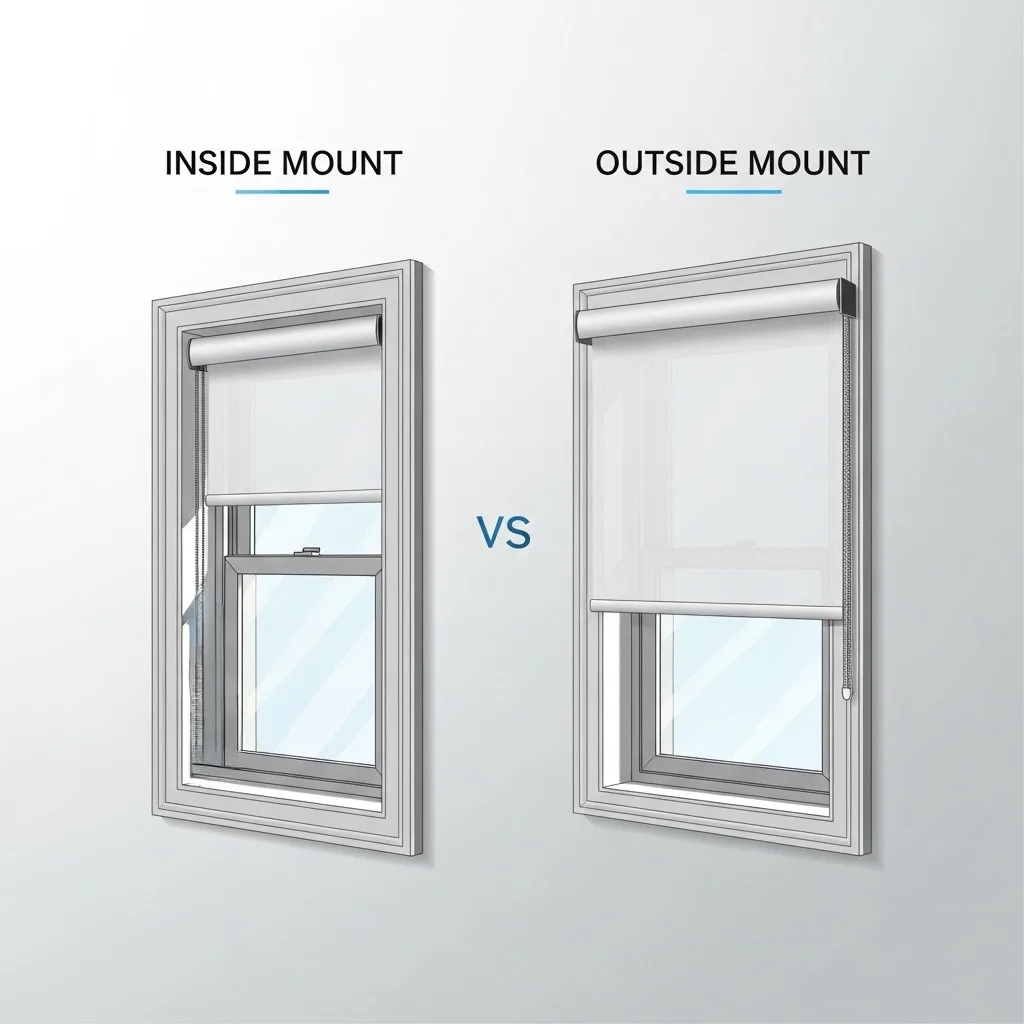
Step 1: Choose Inside Mount or Outside Mount
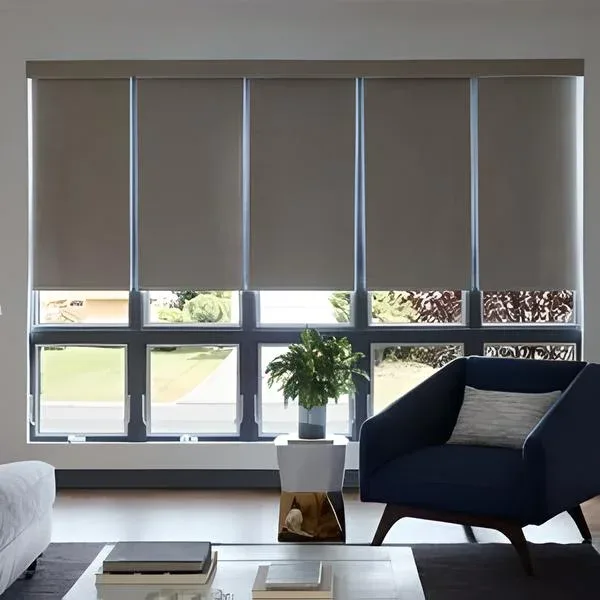
Inside mount means the treatment sits inside the window opening, flush with the wall. It’s the cleaner, more built-in look, it shows off attractive trim, and it’s what most people picture when they imagine custom treatments. It requires a deep enough opening (more on depth below) and a reasonably square window.
Outside mount means the treatment mounts on the wall or trim and overlaps the opening. It’s the right call when your opening is shallow, your window is out of square, there’s a crank or handle in the way, or you want maximum light blockage — the overlap keeps light from leaking around the edges, which is why bedrooms often go outside-mount even when inside would fit.
Step 2: Measuring for an Inside Mount
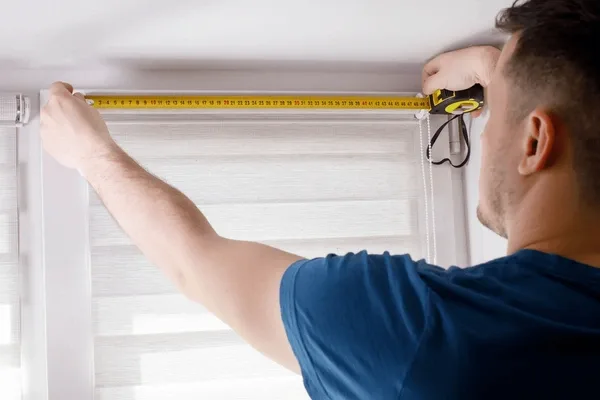
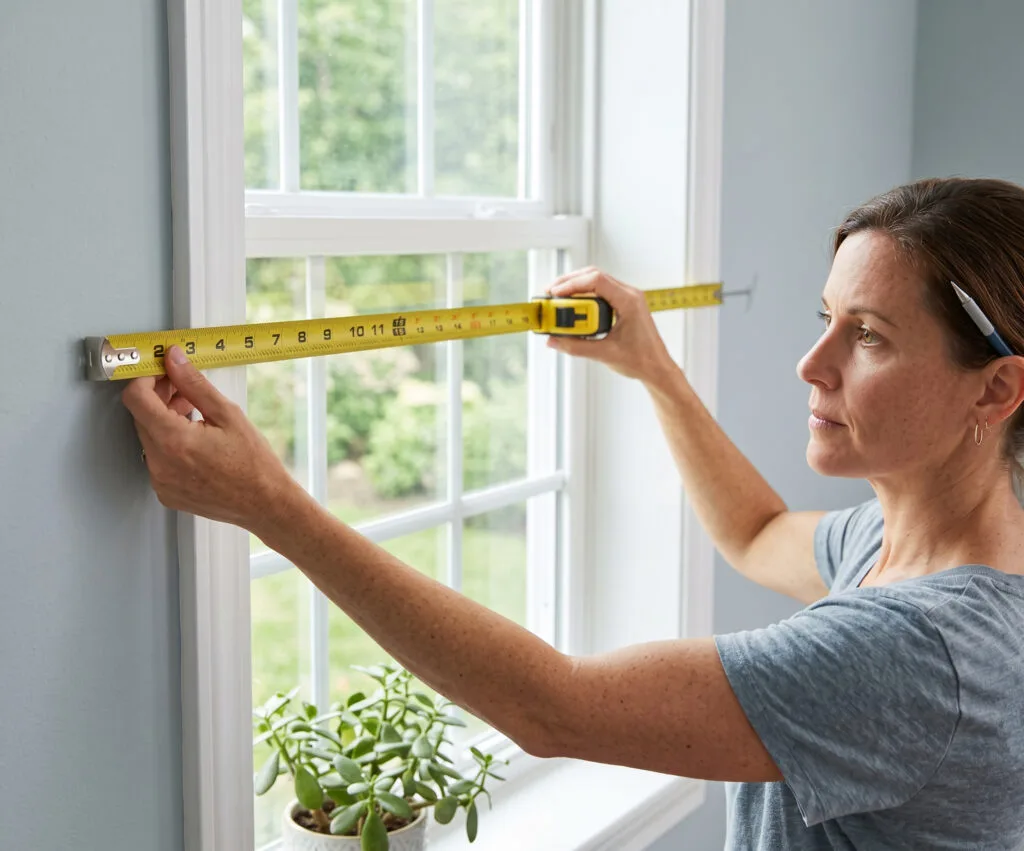
- Measure the width in three places — across the top, the middle, and the bottom of the opening, from one inside surface to the other. Openings are rarely perfectly even.
- Circle the smallest width. The treatment must clear the narrowest point of the opening, so the smallest number wins.
- Measure the height in three places — down the left side, the center, and the right side, from the top inside surface to the sill.
- Circle the longest height. Using the longest number ensures full coverage to the sill at every point. (No sill? Measure to where you want the treatment to end.)
- Do not make any deductions. Record the exact opening size — the manufacturer takes the small clearance allowances themselves, and doubling up on deductions leaves gaps.
Step 3: Check Your Window's Depth
For inside mounts, measure from the front edge of the opening straight back to the glass (or to the nearest obstruction — a crank, a lock, a security sensor). Every product needs a minimum depth to mount, and a bit more to sit fully recessed and flush: many blinds and shades mount in as little as about an inch, while plantation shutters need considerably more room for their louvers to tilt freely. If your measurement comes up shallow, don’t worry — that’s simply a vote for an outside mount, and we’ll confirm what fits during your consultation.
Step 4: Measuring for an Outside Mount
- Decide your coverage area, not just the window. You’re measuring the total area the treatment should cover, including trim if you want it hidden.
- For width, measure the opening or trim, then add about 3 inches on each side. The extra overlap blocks light leaks and improves privacy.
- For height, measure from where the headrail will sit — usually about 3 inches above the opening — down to the sill, or about 2 inches below the opening if there’s no sill.
- Check the flat space. Make sure the wall or trim above the window has enough flat, unobstructed surface to attach the mounting brackets.
Step 5: Measure Every Window — Yes, Even the Matching Ones
Windows that look identical almost never are. Two “matching” windows in the same room can differ by a quarter inch or more, and custom products are built to the exact numbers submitted for each one. Measure every window individually, label each measurement clearly (“Kitchen — left of sink” beats “Window 3”), and keep width and height in the right order throughout.
Special Situations Worth a Second Set of Eyes
Some windows deserve professional measurement even if you’re confident with a tape: arches and angled tops, bay and corner windows, extra-wide sliding doors, French doors with protruding handles, skylights, and very tall two-story windows. These involve template work, projection brackets, or weight considerations that go beyond a simple width-by-height. They’re also exactly where custom treatments shine — ourshutters, shades, and blinds can all be built for specialty shapes, and you can see examples in our portfolio.
Common Measuring Mistakes to Avoid
- Swapping width and height. Always width first. Always.
- Measuring the old treatment instead of the window. Your existing blinds may never have fit correctly — measure the opening itself.
- Rounding to the nearest half inch. Custom products are built to 1/8-inch precision; your measurements should be too.
- Measuring once. Three width and three height measurements per window catch the unevenness that one measurement hides.
- Ignoring obstructions. Cranks, handles, alarm sensors, and tile backsplashes all affect fit — note them for every window.
Or Skip All of This — We Measure Free
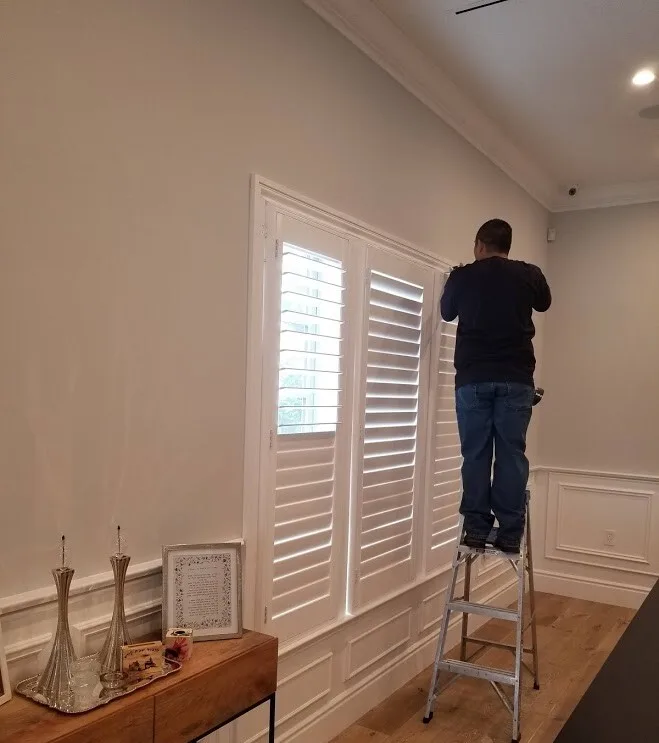
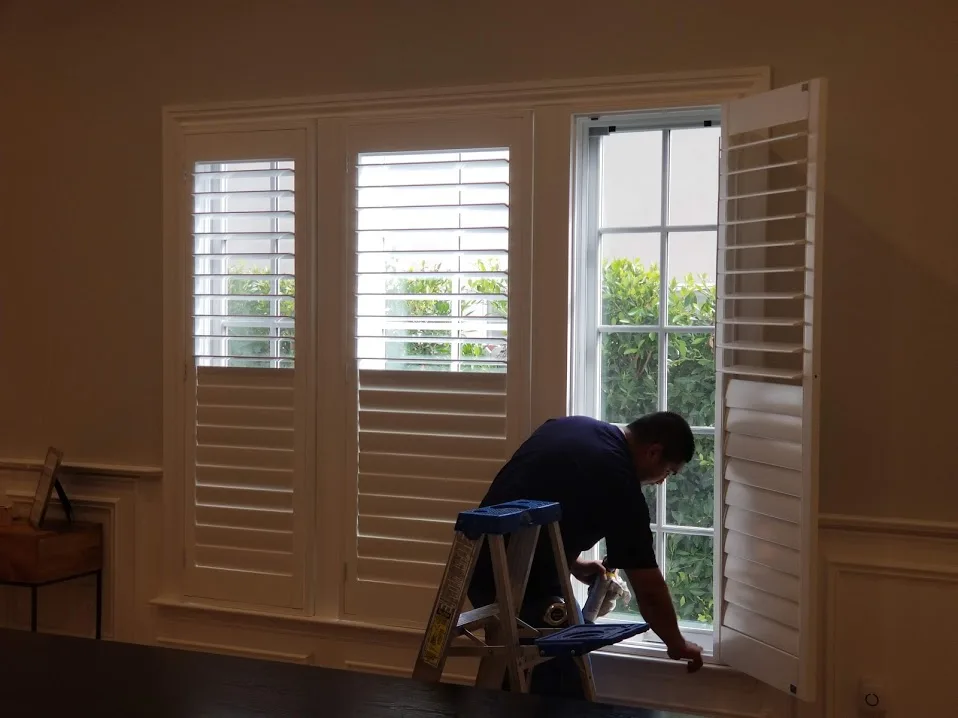
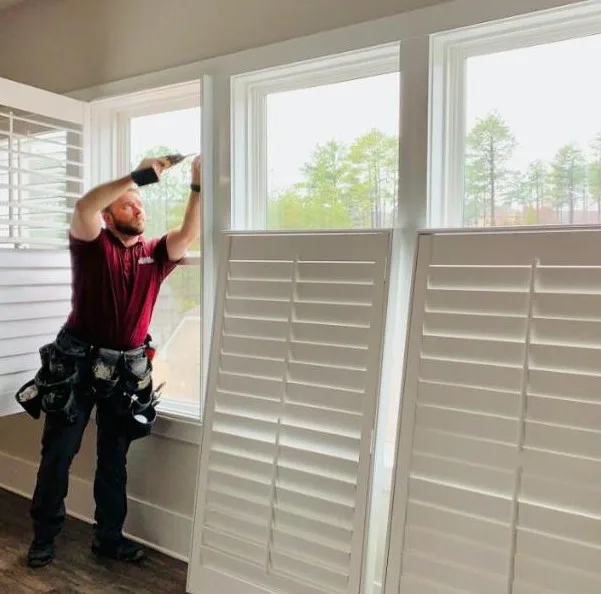
Here’s the honest truth: this guide is great for planning, budgeting, and understanding your options, but you never have to submit your own measurements. Every Blinds by Design project includes free professional measurement, and when our team measures, we guarantee the fit — full stop. Our mobile showroom serves all of Los Angeles County and Orange County, bringing samples right to your windows so you can choose materials and colors in your home’s own light.
For window treatment sales, consultation, and professional measurement, contact us online or call (562) 299-8743 to schedule your free in-home consultation — measurement, samples, and an exact quote, all in one visit.
Please note: Repair services are available only for products provided by Blinds by Design. We do not offer general repair services for products from other manufacturers.