
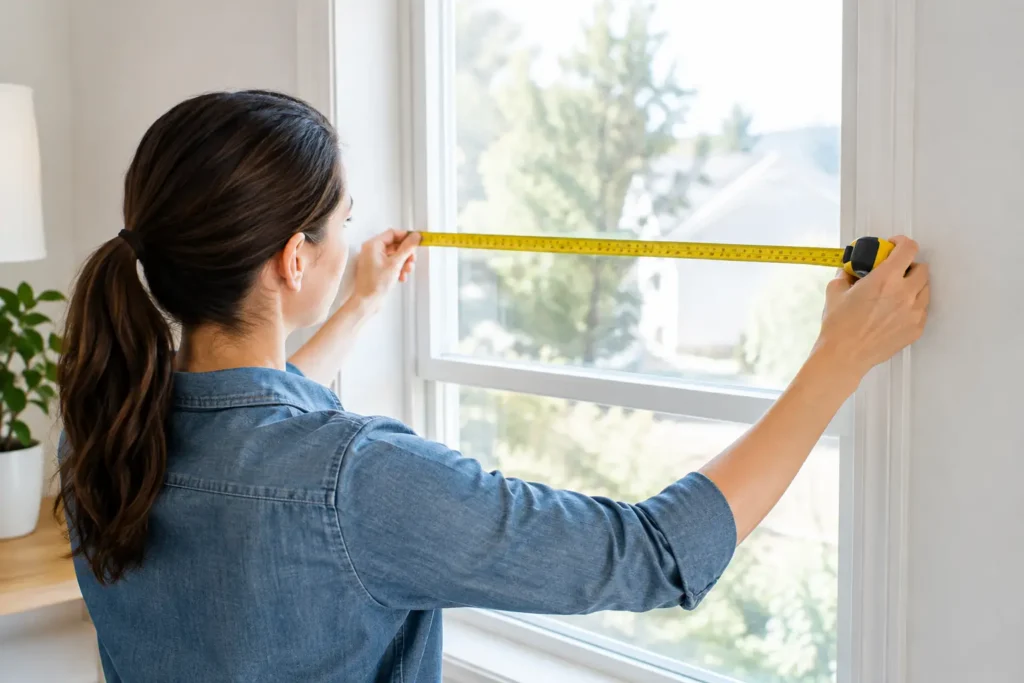
A beautiful blind can still look unfinished if the measurements are off by even a small amount. When you measure windows for blinds, you are deciding more than the product size. You are also shaping how much light enters the room, how private it feels, how easily the treatment operates, and whether the finished look feels tailored to the space.
For Los Angeles and Orange County homes, window openings can vary more than expected, especially in older properties, remodeled rooms, bay windows, and homes with textured plaster or deep trim. A careful measuring process helps prevent gaps, crowded brackets, uneven hems, and treatments that do not clear handles or molding.
Start by Choosing Inside or Outside Mount
Before taking out the tape measure, decide where the blind will be installed. This is the choice that guides every measurement that follows.
An inside mount fits within the window frame or recess. It creates a clean, built-in appearance and lets the trim remain visible. Inside-mounted blinds are popular for rooms with attractive molding, shallow windows that do not need maximum light blocking, and spaces where homeowners want a neat, understated finish.
An outside mount is installed above or around the opening, on the wall, trim, or ceiling. It can make a window appear larger, cover uneven or shallow frames, and reduce light gaps around the sides. Outside mount is often the better choice for bedrooms, media rooms, sliding doors, French doors, or windows with limited interior mounting depth.
Neither approach is automatically better. An inside mount may look more architectural, but it requires enough unobstructed depth for the selected blind or shade. An outside mount offers more flexibility and improved coverage, yet the treatment becomes a more visible design element. The right choice depends on the window, the product, and the level of privacy and light control you want.
What You Need Before Measuring
Use a steel tape measure rather than a fabric tape. Record measurements in inches to the nearest 1/8 inch, and write width before height every time. A notebook or phone note works well, but label each window by room and location, such as “primary bedroom, left window.”
It also helps to note anything near the opening that could affect installation. Look for window cranks, locks, handles, security sensors, alarm contacts, thick trim, tile, cabinetry, or nearby doors. These details matter when choosing bracket placement and deciding whether a blind will raise and lower without interference.
Check for Obstacles and Uneven Openings
Do not assume a window frame is perfectly square. In many homes, the top, middle, and bottom widths differ slightly. The same can be true of the height on the left, center, and right sides. Measuring in several places is not extra work for its own sake. It reveals whether the treatment needs to accommodate a real-world opening rather than an ideal one.
Also consider how the window is used. A window above a kitchen sink may need a treatment that clears the faucet. A bathroom window may need stronger privacy. An office may benefit from glare control without losing daylight. Measurements are most useful when paired with how you live or work in the room.
How to Measure Windows for Blinds With an Inside Mount
For an inside mount, measure the actual interior of the window opening, not the outside edge of the trim. Begin with width. Take three measurements across the inside of the opening: at the top, middle, and bottom. Record all three, then use the narrowest measurement.
Next, measure height in three places: left, center, and right. Measure from the inside top of the opening down to the sill or the bottom edge of the opening. Record the longest height measurement unless the product instructions specify otherwise.
Finally, measure the window depth. Place the tape measure from the front edge of the opening to the glass or any obstruction inside the frame. Depth is essential because blinds, shades, shutters, and motorized systems all have different clearance requirements. A product may technically fit inside the opening but project beyond the frame if the recess is too shallow.
Do not make your own width deductions for an inside mount unless the manufacturer specifically instructs you to do so. Custom blind manufacturers typically account for the operating clearance needed within the frame. Ordering a narrower width on your own can create side gaps that look larger than expected and allow unwanted light into the room.
If the window is noticeably out of square, very narrow, or obstructed by a crank handle, an outside mount may produce the cleaner result. This is also where professional guidance can save time and prevent an expensive remake.
Measuring for an Outside Mount
Outside-mount measurements are based on the coverage you want, not just the glass size. Start by measuring the width of the area you want the treatment to cover. For many standard windows, extending the blind beyond the opening on both sides helps reduce side light gaps and creates a more balanced appearance.
How much overlap is appropriate depends on the space. A window near a corner, cabinet, door, or another window may not have room for wide extensions. On the other hand, a bedroom window with generous wall space may benefit from extra coverage for privacy and light control.
Measure the desired height from the planned top of the headrail to the desired bottom of the treatment. In many cases, mounting above the opening makes the window feel taller and leaves room for the blind to stack when raised. Be sure there is a secure, level surface for brackets. Drywall, wood trim, metal framing, tile, and concrete can each require a different installation approach.
For outside-mounted treatments, also decide where the raised blind or shade should rest. A tightly stacked product may still cover part of the upper glass, while certain shade styles need more vertical room than others. This is especially relevant when preserving a view is a priority.
Special Windows Need a More Careful Plan
Bay windows, corner windows, arched openings, sliding doors, and French doors should be measured as individual situations rather than treated like standard rectangular windows.
With bay windows, the space between treatments matters as much as each window measurement. Brackets and headrails need enough clearance to avoid colliding at the corners. For French doors, handle clearance and movement are critical. For sliding doors, vertical blinds, panel tracks, or wide cellular shades may be more practical than a traditional horizontal blind.
Arched or unusually shaped windows often require a custom solution, and the usable rectangular portion of the opening may determine which product will work best. Measuring the widest point alone is not enough. A design professional can identify mounting limitations before the order is placed.
Motorization Adds Convenience, Not a Shortcut
Motorized blinds and shades are especially useful for high windows, large openings, and rooms with multiple treatments. They still need exact measurements and a thoughtful installation plan. Consider where power will come from, whether battery-operated or hardwired control makes sense, and how the treatment will be grouped for daily use.
The right motorized product should feel convenient without compromising the fit, fabric selection, or control of light. It is worth discussing the room’s routine during the measuring appointment, particularly for bedrooms, living rooms with sun exposure, and offices with presentation screens.
When Professional Measuring Is the Better Choice
Measuring on your own can be useful for planning and comparing options. But final measurements for custom window treatments deserve professional attention, particularly when the windows are irregular, the treatment is motorized, or the project includes several rooms.
A professional measure confirms mounting depth, bracket placement, product clearances, and the conditions of the installation surface. It also connects the dimensions to the product itself. The measurement needs for plantation shutters are different from those for roller shades, cellular shades, wood blinds, or vertical treatments.
Blinds by Design brings that product knowledge into the home, where colors, materials, light direction, furniture placement, and window conditions can be evaluated together. That makes it easier to select a treatment that looks right and performs well after installation, not just one that appears suitable in a sample photo.
A tape measure provides the numbers, but a successful window treatment starts with the full picture: the opening, the room, the desired function, and the finish you want to enjoy every day. If a measurement gives you pause, scheduling an in-home consultation is a simple way to move forward with confidence.