
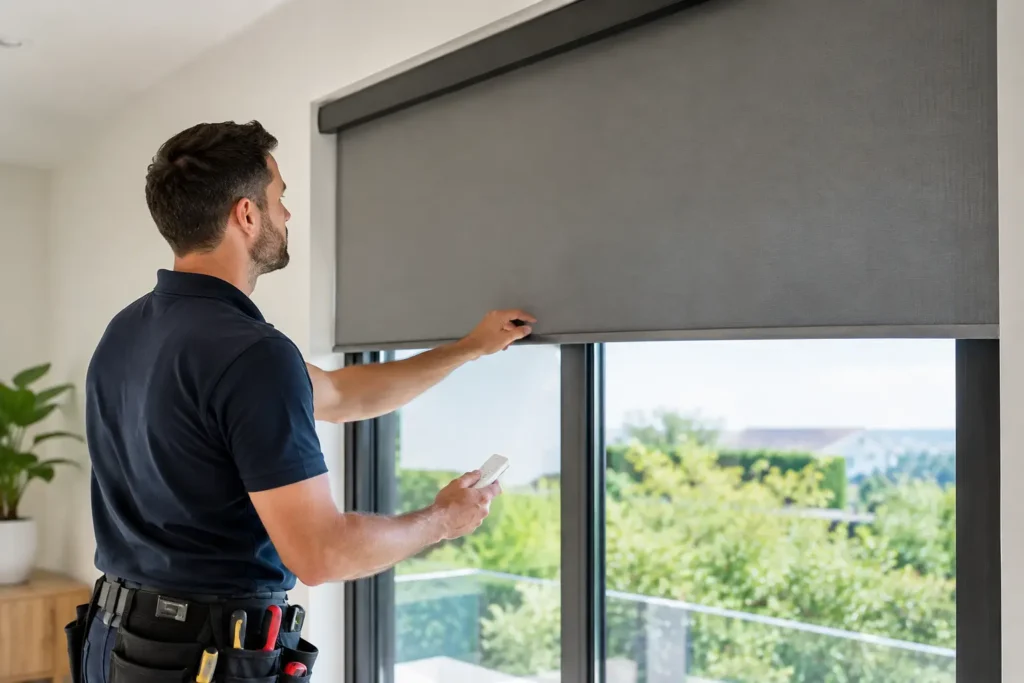
A motorized shade installation example is easiest to understand when you picture the room first, not the product box. Imagine a Los Angeles homeowner updating a west-facing living room with wide windows, afternoon glare, and a view they do not want to cover all day. They want privacy at night, filtered light in the afternoon, and shades that can be adjusted without reaching behind furniture. The right solution is not just a motorized shade. It is a custom-fit treatment selected, powered, installed, and programmed for the way that room is actually used.
A Motorized Shade Installation Example From Start to Finish
In this example, the homeowner chooses light-filtering roller shades for three living room windows. The fabric softens strong afternoon sun while preserving a bright, open feeling. Because the windows are adjacent and visible from the main seating area, matching fabric, aligned hem bars, and consistent mounting height matter just as much as the motor itself.
The project begins with an in-home consultation. Rather than choosing from a small swatch under store lighting, the homeowner can compare fabrics in the room at different times of day. A warm white may look clean against the wall but appear too yellow next to the existing trim. A gray-beige fabric may better complement the flooring while reducing glare on the television.
During this visit, the installer also discusses how the shades should operate. The homeowner wants all three shades to lower together in the evening but also wants to control each one individually. That makes a multi-channel remote or app-based control a practical choice. A preferred lower limit is set so the shades stop just above a low window bench rather than covering it completely.
Measuring Is Where a Custom Installation Takes Shape
Motorized shades need accurate measurements for more than appearance. The width, height, window depth, trim profile, and mounting surface all affect which shade system will work best. For inside-mounted shades, the opening must have enough depth for the selected product and brackets. For outside mounts, the installer considers how far the fabric needs to extend beyond the glass to improve privacy and light control.
In this living room, the windows have shallow inside depth and detailed wood trim. An outside mount above the trim provides the cleanest result. It also allows the shade fabric to overlap the window opening, reducing the bright edges that can occur with an inside mount. The three headrails are measured and positioned at the same height so they create a balanced visual line across the wall.
This is a key reason custom measuring is worth the appointment. A shade can be technically functional but still look off if it is mounted too low, too narrow, or unevenly aligned with neighboring windows. In a prominent room, small differences become noticeable quickly.
Choosing Battery or Wired Power
The next decision is power. Battery-operated motorized shades are often a strong option for existing homes because they avoid opening walls or adding visible cords. They are especially useful for bedrooms, living rooms, and spaces where access to an outlet is limited. Battery life varies based on shade size, fabric weight, frequency of use, and motor type, but the homeowner should plan for periodic charging or battery replacement.
Hardwired shades are a good fit during construction or a larger remodel, when electrical planning can happen before drywall is finished. They remove the need to recharge batteries and can be a smart choice for tall, hard-to-reach windows or a home with many motorized treatments. The trade-off is a more involved installation and coordination with an electrician.
For this example, battery motors make the most sense. The homeowner does not want to disturb recently painted walls, and the shades will be used a few times a day. Rechargeable battery wands are concealed behind the shade and remain accessible for service.
What Happens on Installation Day
Once the custom shades arrive, the installation team confirms the measurements and reviews the planned placement before drilling. This step is particularly helpful in homes with uneven walls, substantial trim, or windows that look symmetrical but vary slightly in size.
The brackets are securely fastened into an appropriate mounting surface. Depending on the wall construction and placement, that may mean locating studs, using suitable anchors, or mounting into solid wood trim. The headrail is then snapped or secured into the brackets, and the installer checks that each shade is level before finalizing the fit.
For motorized roller shades, level installation is not a cosmetic detail. A shade that is not level can roll unevenly, create gaps, or place unnecessary strain on the fabric and motor over time. The installer lowers and raises every shade several times to confirm smooth movement, proper fabric alignment, and quiet operation.
In this example, the installer also adjusts the upper and lower limits. The upper limit ensures the fabric rolls fully into the headrail without overtravel. The lower limit stops the shade at the homeowner’s chosen position. These settings help the shades operate consistently each day and protect the system from being pushed beyond its intended range.
Programming the Controls Around Daily Life
Once the hardware is installed, the shades are paired with the selected controls. The homeowner receives a remote with separate channels for each window and one channel for the entire room. The team labels the controls clearly, then demonstrates how to raise, lower, stop, and set a favorite position.
A favorite position is useful when full privacy is not needed. In this living room, the favorite setting lowers the shades enough to reduce glare while leaving a portion of the window uncovered. That means the homeowner can enjoy daytime comfort without closing off the view.
If the system includes app control, programming may also include schedules. A weekday schedule can lower the shades during the sunniest afternoon hours and raise them again in the evening. Automation should support the household, not make it more complicated. For some clients, a simple remote is ideal. For others, scheduled control and smart-home integration are worth the added convenience.
The Design Details That Make It Look Finished
Motorization is often the feature people notice first, but fabric and finishing details have the greatest effect on the room’s overall appearance. Light-filtering fabric creates a soft glow and is popular in living areas, while blackout shades are usually better for bedrooms, media rooms, and spaces where sleep or screen visibility is the priority.
The openness factor of a solar shade also deserves attention. A more open weave can preserve more of the exterior view, but it may provide less daytime privacy and less glare reduction. A tighter weave offers stronger solar control but can make the view appear softer. There is no single best choice. It depends on window orientation, neighboring homes, furnishings, and how the room functions.
For the living room in this example, a neutral light-filtering fabric with a simple fascia creates a tailored look. The fascia conceals the roller hardware and gives the window treatment a more complete, furniture-quality finish.
Why Professional Installation Makes the Difference
A motorized shade system combines precise measurements, mounting requirements, electrical considerations, fabric selection, and programming. It can look straightforward after installation, but the planning behind it determines how well it performs over time.
Working with a local specialist also makes it easier to see the options in your own space and receive guidance based on your windows, décor, and budget. Blinds by Design brings the selection process to the home, then coordinates custom measuring, product selection, and professional installation as one connected service.
Before scheduling your consultation, think about which rooms need better privacy, glare control, insulation, or convenience. Also consider whether you want individual control, room-wide control, or automation. Those answers will help shape a motorized shade plan that feels natural from the first day you use it.
The best motorized shades should not call attention to the work behind them. They should simply make the room more comfortable at the times you need them most.